Docs · Getting started
Getting started
From installer to finished XISF masters in six steps.
Installation & requirements
Download the installer for your platform from the download section.
| Platform | Installer | GPU support |
|---|---|---|
| Windows 11 | Signed installer (Azure Trusted Signing) | wgpu (DX12/Vulkan) + bundled CUDA 13.2 fast path |
| macOS (Apple Silicon) | Signed & notarized DMG | wgpu via Metal |
| Linux | .deb (bundles CUDA 12.6) or AppImage (portable, wgpu-only) | wgpu (Vulkan) + CUDA on the deb |
About GPUs
Rapid Stacker picks the fastest available compute backend automatically, probing CUDA → wgpu → CPU:
- wgpu is the default everywhere and needs no extra drivers — it uses Metal on macOS, DX12/Vulkan on Windows, and Vulkan on Linux.
- CUDA is an additive fast path for NVIDIA cards. The Windows build’s CUDA 13.2 kernels require a Turing (RTX 20-series) or newer GPU; older Pascal cards (GTX 10-series) simply fall back to wgpu. The app runs fine on machines with no NVIDIA driver at all.
- CPU always works and produces identical results — GPU acceleration changes speed, never the output.
You can also force a specific backend in the CLI (--backend cpu|wgpu|cuda); the GUI uses automatic selection.
Staying up to date
The app checks a signed update manifest at startup and daily. When a new version is available, a dialog shows the changelog with three choices: Install update (downloads the installer, verifies its SHA-256 checksum, and hands off to the OS), Skip this version, or Remind me later. You can turn off the startup check in Settings → Updates, and a small “update available” link stays in the sidebar footer whenever a newer release exists.
Quick start: your first stack
The GUI is a five-step wizard — Project → Frames → Settings → Run → Results — laid out in the left sidebar. Steps unlock as their prerequisites are met. Here’s the whole flow:
Step 1 — Point it at your project. On the Project screen, click Choose… next to Main Project Folder and pick the folder that holds your imaging session. Rapid Stacker selects the folders the run needs — lights, masters, stacked output, plus the Build Masters input and output — and offers to create Masters and Stacked folders if they don’t exist yet. If you keep a reusable library of bias and dark masters, you can stay pointed at it; see Project & frames. You can always override any folder individually.
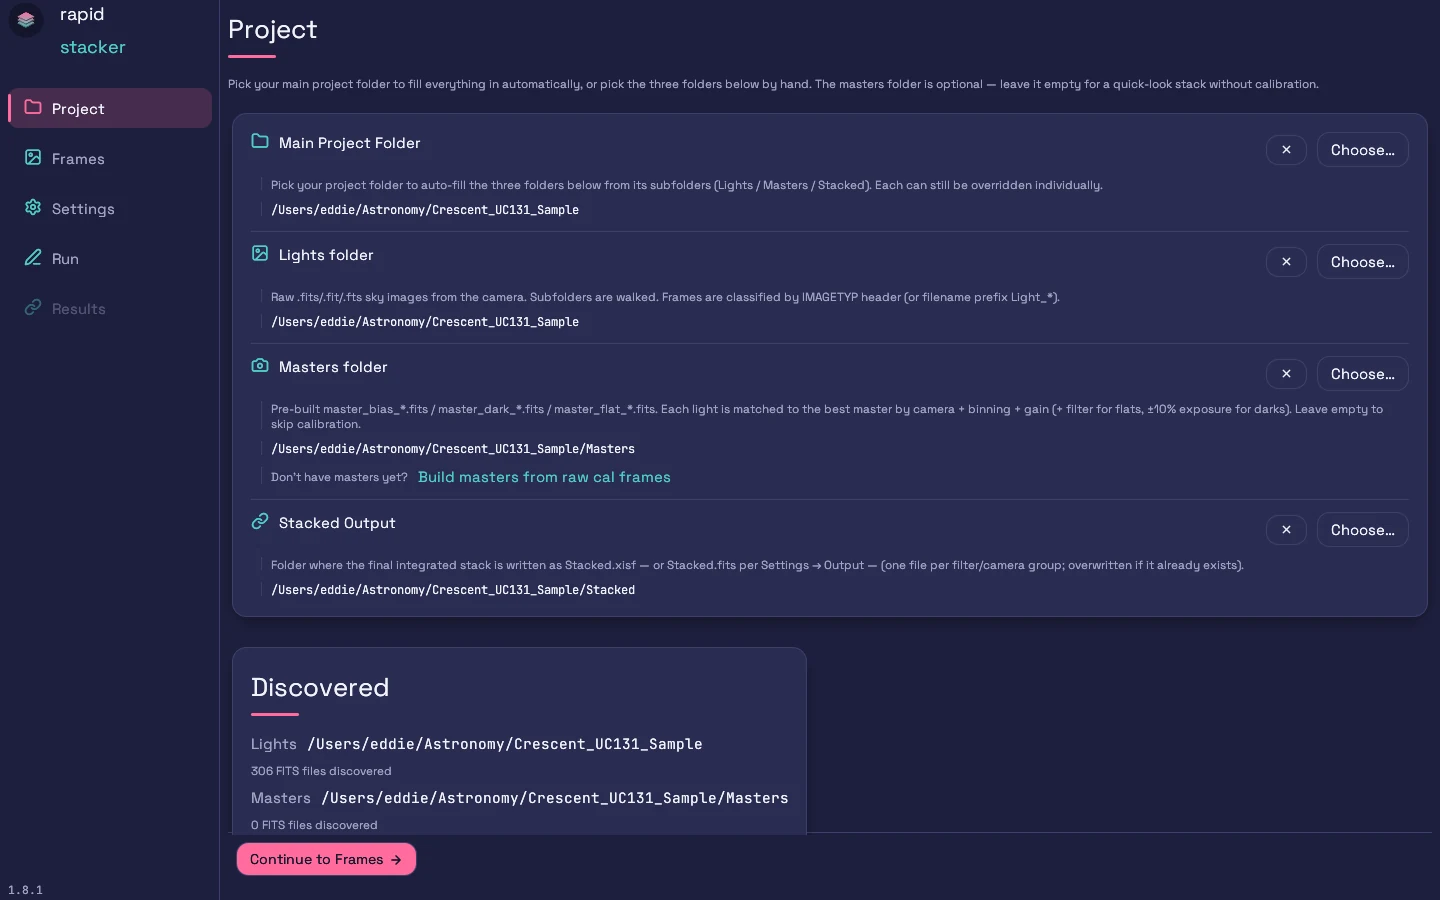
Step 2 — Check the Discovered card. It shows how many FITS files were found in your lights and masters folders. No master calibration files yet? Click the “Build masters from raw cal frames” link and see Building masters — it takes one extra click and a couple of minutes.
Step 3 — Review your frames. Click Continue to Frames. Every light is listed with its filter and exposure; optionally click Detect stars on all frames to measure star counts, FWHM, and eccentricity per frame, and untick any frame you want to exclude. Click a row to preview it.
Step 4 — Pick your capture mode. On Settings, choose Mono (monochrome camera + filter wheel) or OSC (one-shot-colour Bayer camera). Each applies a complete, recommended preset — for a first stack you don’t need to touch anything else. (Rapid Stacker even switches to OSC automatically if it detects a Bayer pattern in your lights.)
Step 5 — Run. Click Run, then Start stacking. You’ll see live progress through discovery, reference scoring, calibration + registration, and integration, with a live preview of the growing master and an ETA. Cancel any time — completed groups are kept.
Step 6 — Collect your masters. When the run finishes you land on Results: one card per filter/exposure group with a preview thumbnail, integration totals, a per-frame report, and a Reveal in file manager button. The XISF masters in your Stacked folder are ready to drop into PixInsight.
Next steps
- Project & frames — the Project and Frames screens in detail
- Building masters — master calibration frames from raw bias / dark / flat subs
- Settings reference — every pipeline control explained